
In this post, we will see how to deploy a Flask application using the Gunicorn WSGI server and nginx as a reverse proxy and static files server.
We will configure Nginx to act as a front-end reverse proxy in an Ubuntu VPS. Although this guide uses Ubuntu 22.04, it was last tested on Ubuntu 23.04, Ubuntu 22.04 LTS, Ubuntu 20.04 LTS, Ubuntu 18.04 LTS, and Ubuntu 16.04 LTS in 2023 and should work on future versions of Ubuntu as well.
Prerequisites
Before starting this guide, you should have:
- A Virtual Private Server (VPS) with Ubuntu installed
- A domain name configured to point to your server (optional)
Follow the steps below:
Step 0 - Create a sudo non-root user
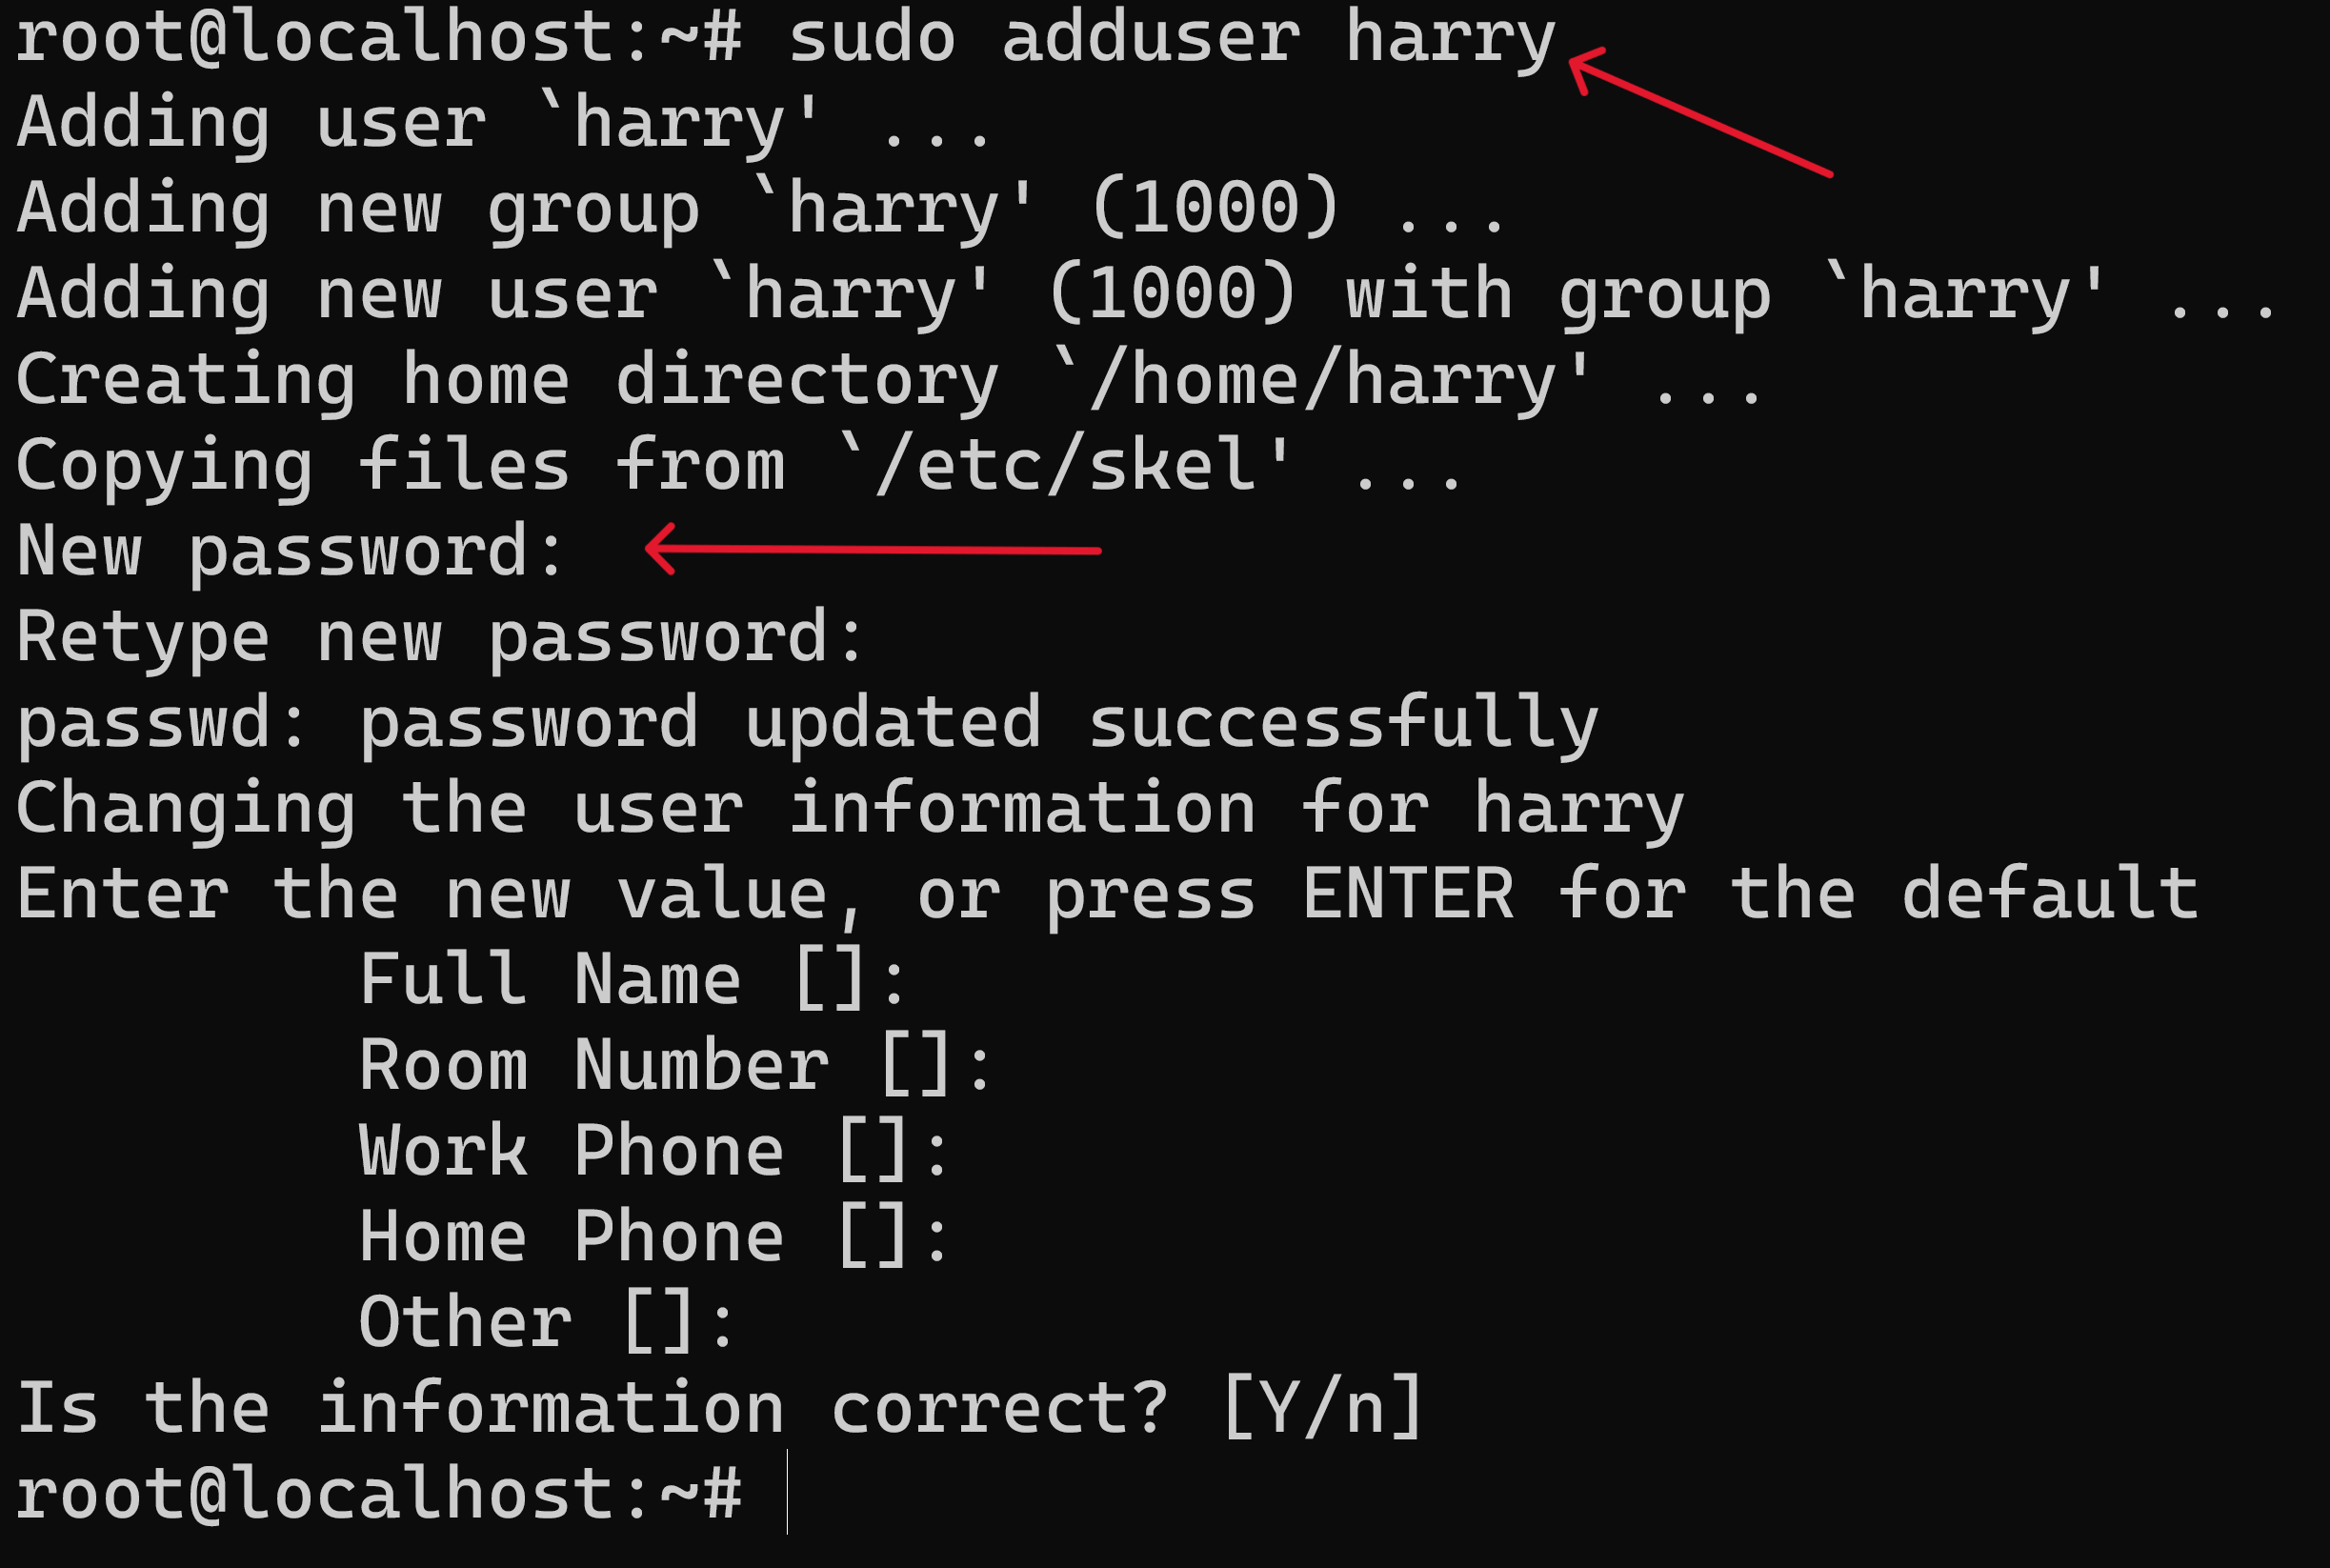
If you are logging in to your server as root, you need to create a non-root sudo user. Let's create a sudo non-root user named harry using the command below:
adduser harry
Choose a password and fill in all the details. Now let's give sudo access to user harry:
usermod -aG sudo harry
Now exit the machine and log back in with the newly created user harry:
exit
Step 1 - Install the required packages
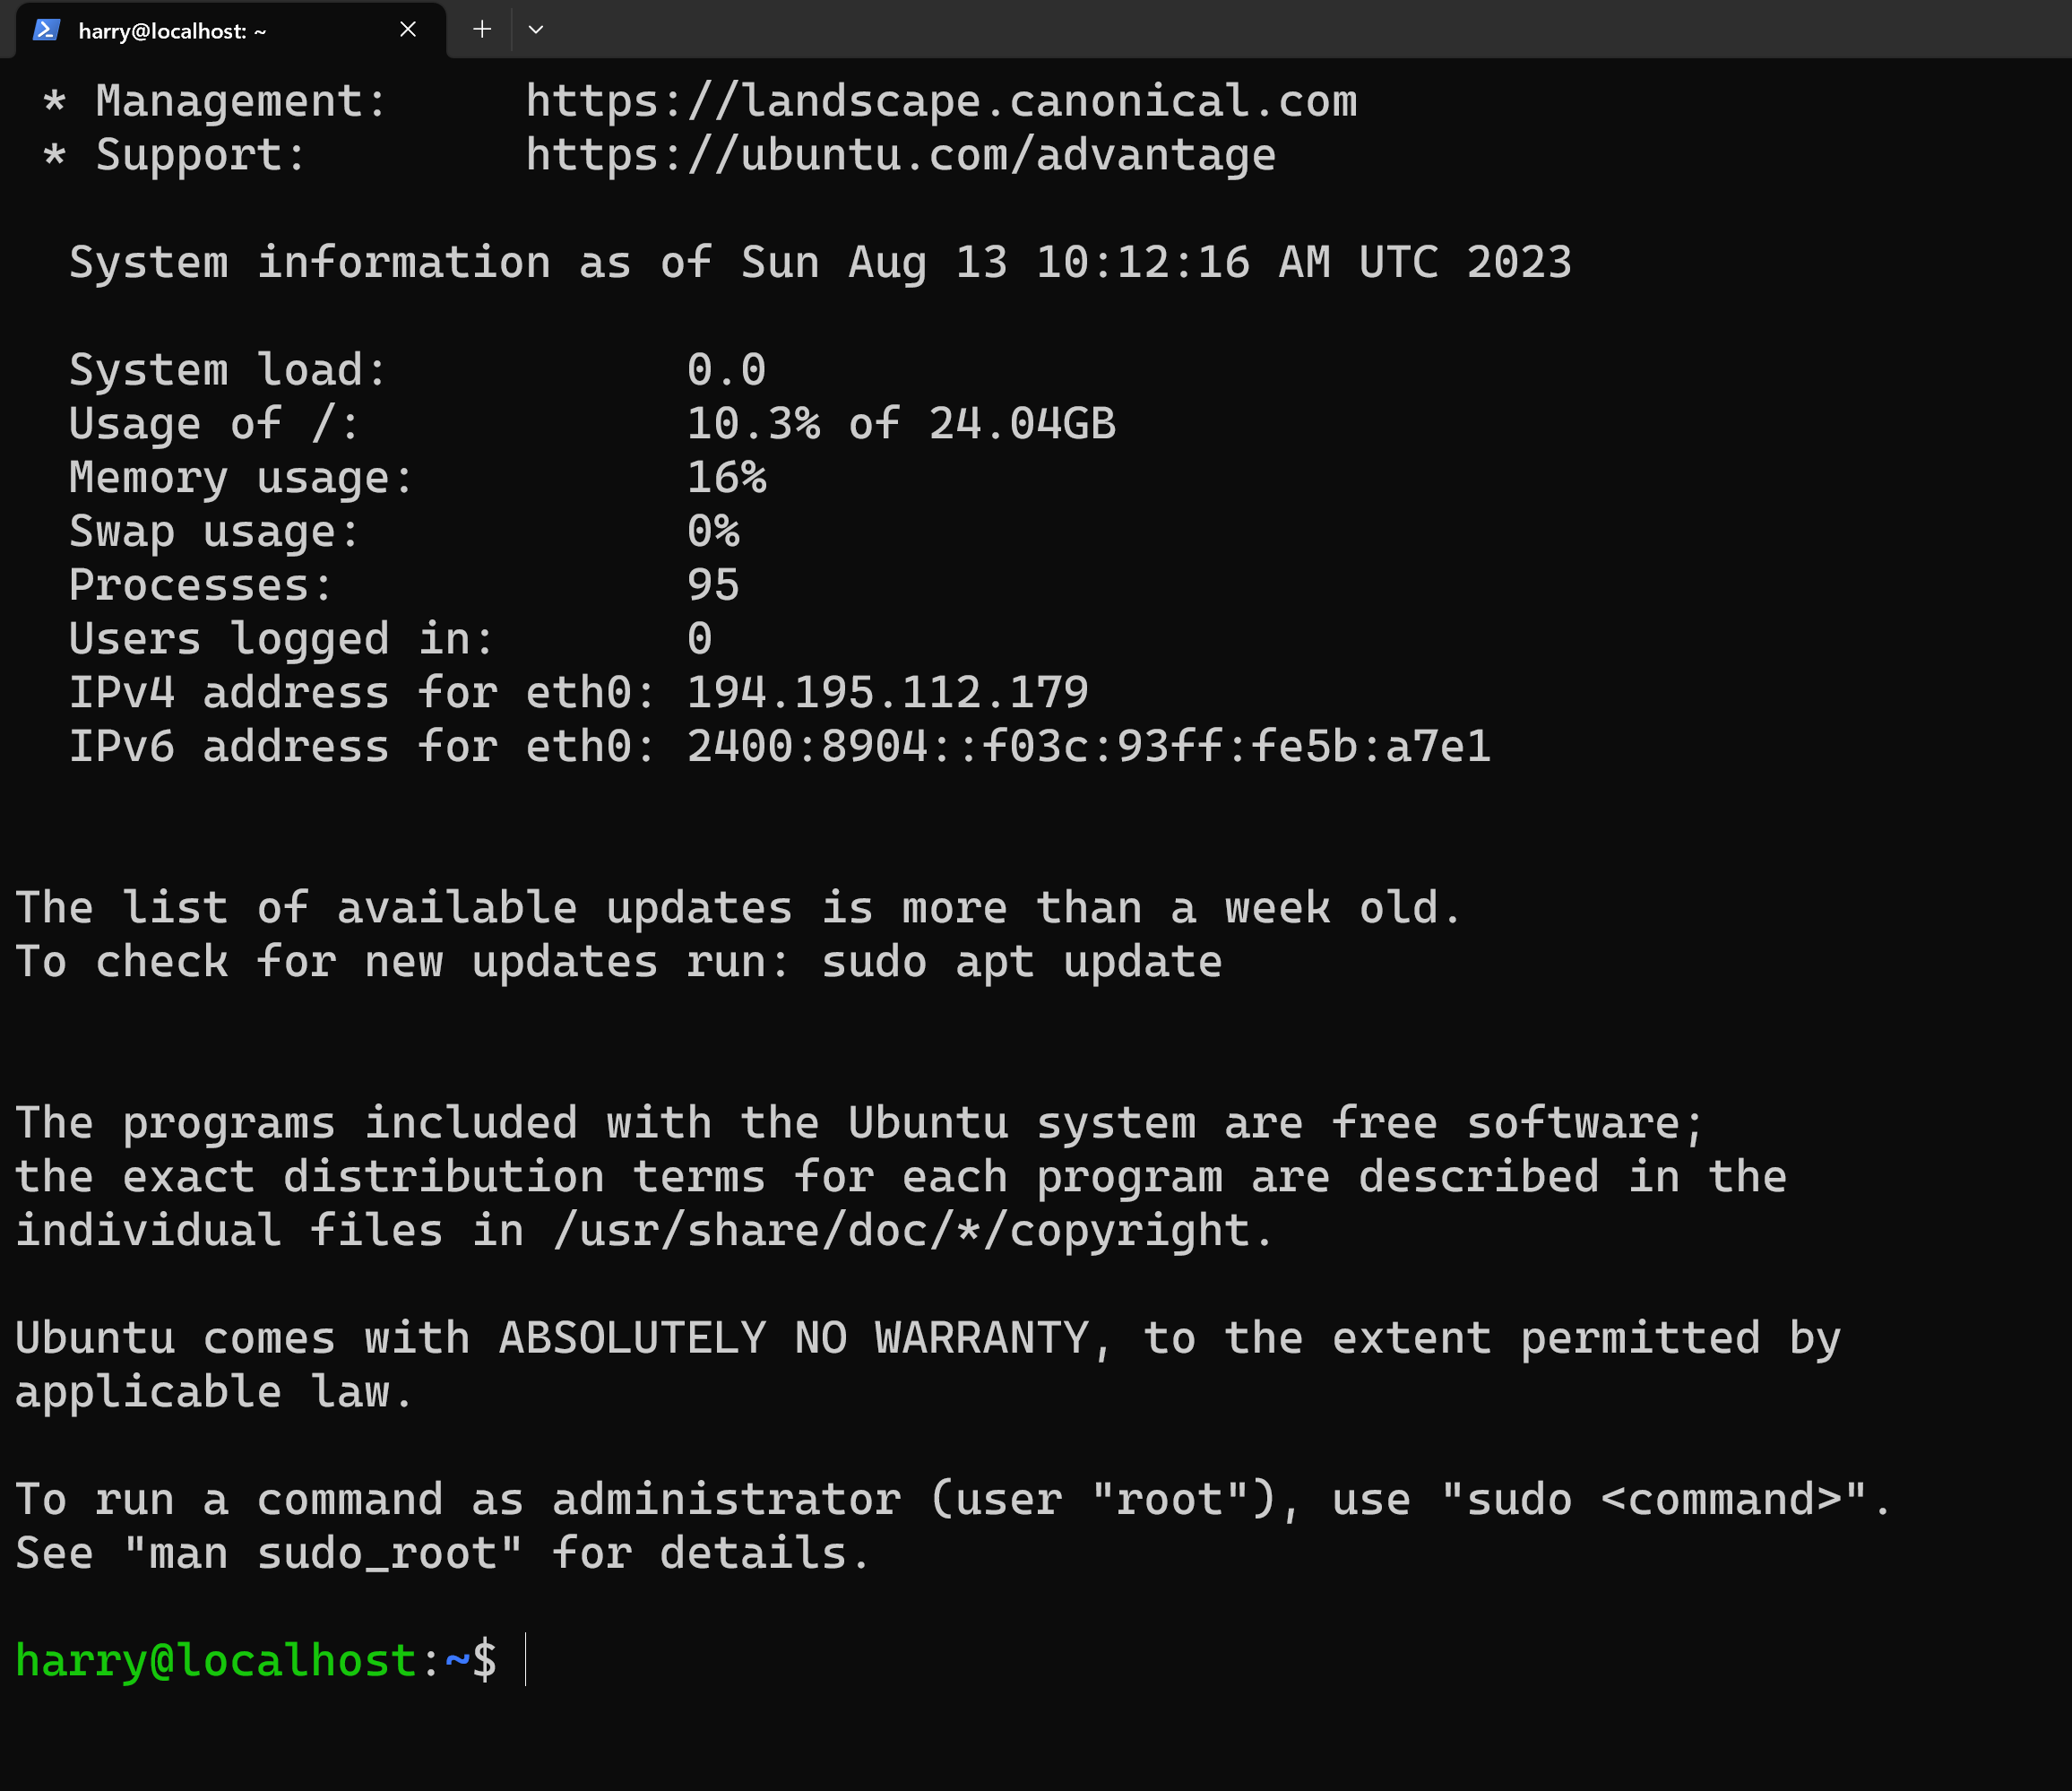
Login to your Ubuntu machine using SSH with your sudo non-root user. I will log in as harry using ssh harry@<my server ip>. Provide the password you chose at step 0.
Before we install the packages, let's update the package index:
sudo apt update
Next, you need to install the packages that will allow you to create your Python environment. These packages include python3-pip, which is a Python package manager, as well as a few other development tools that are essential for a robust programming environment. Let's install python3, python3-pip, and Nginx using the commands below:
sudo apt install python3-pip python3-dev nginx -y
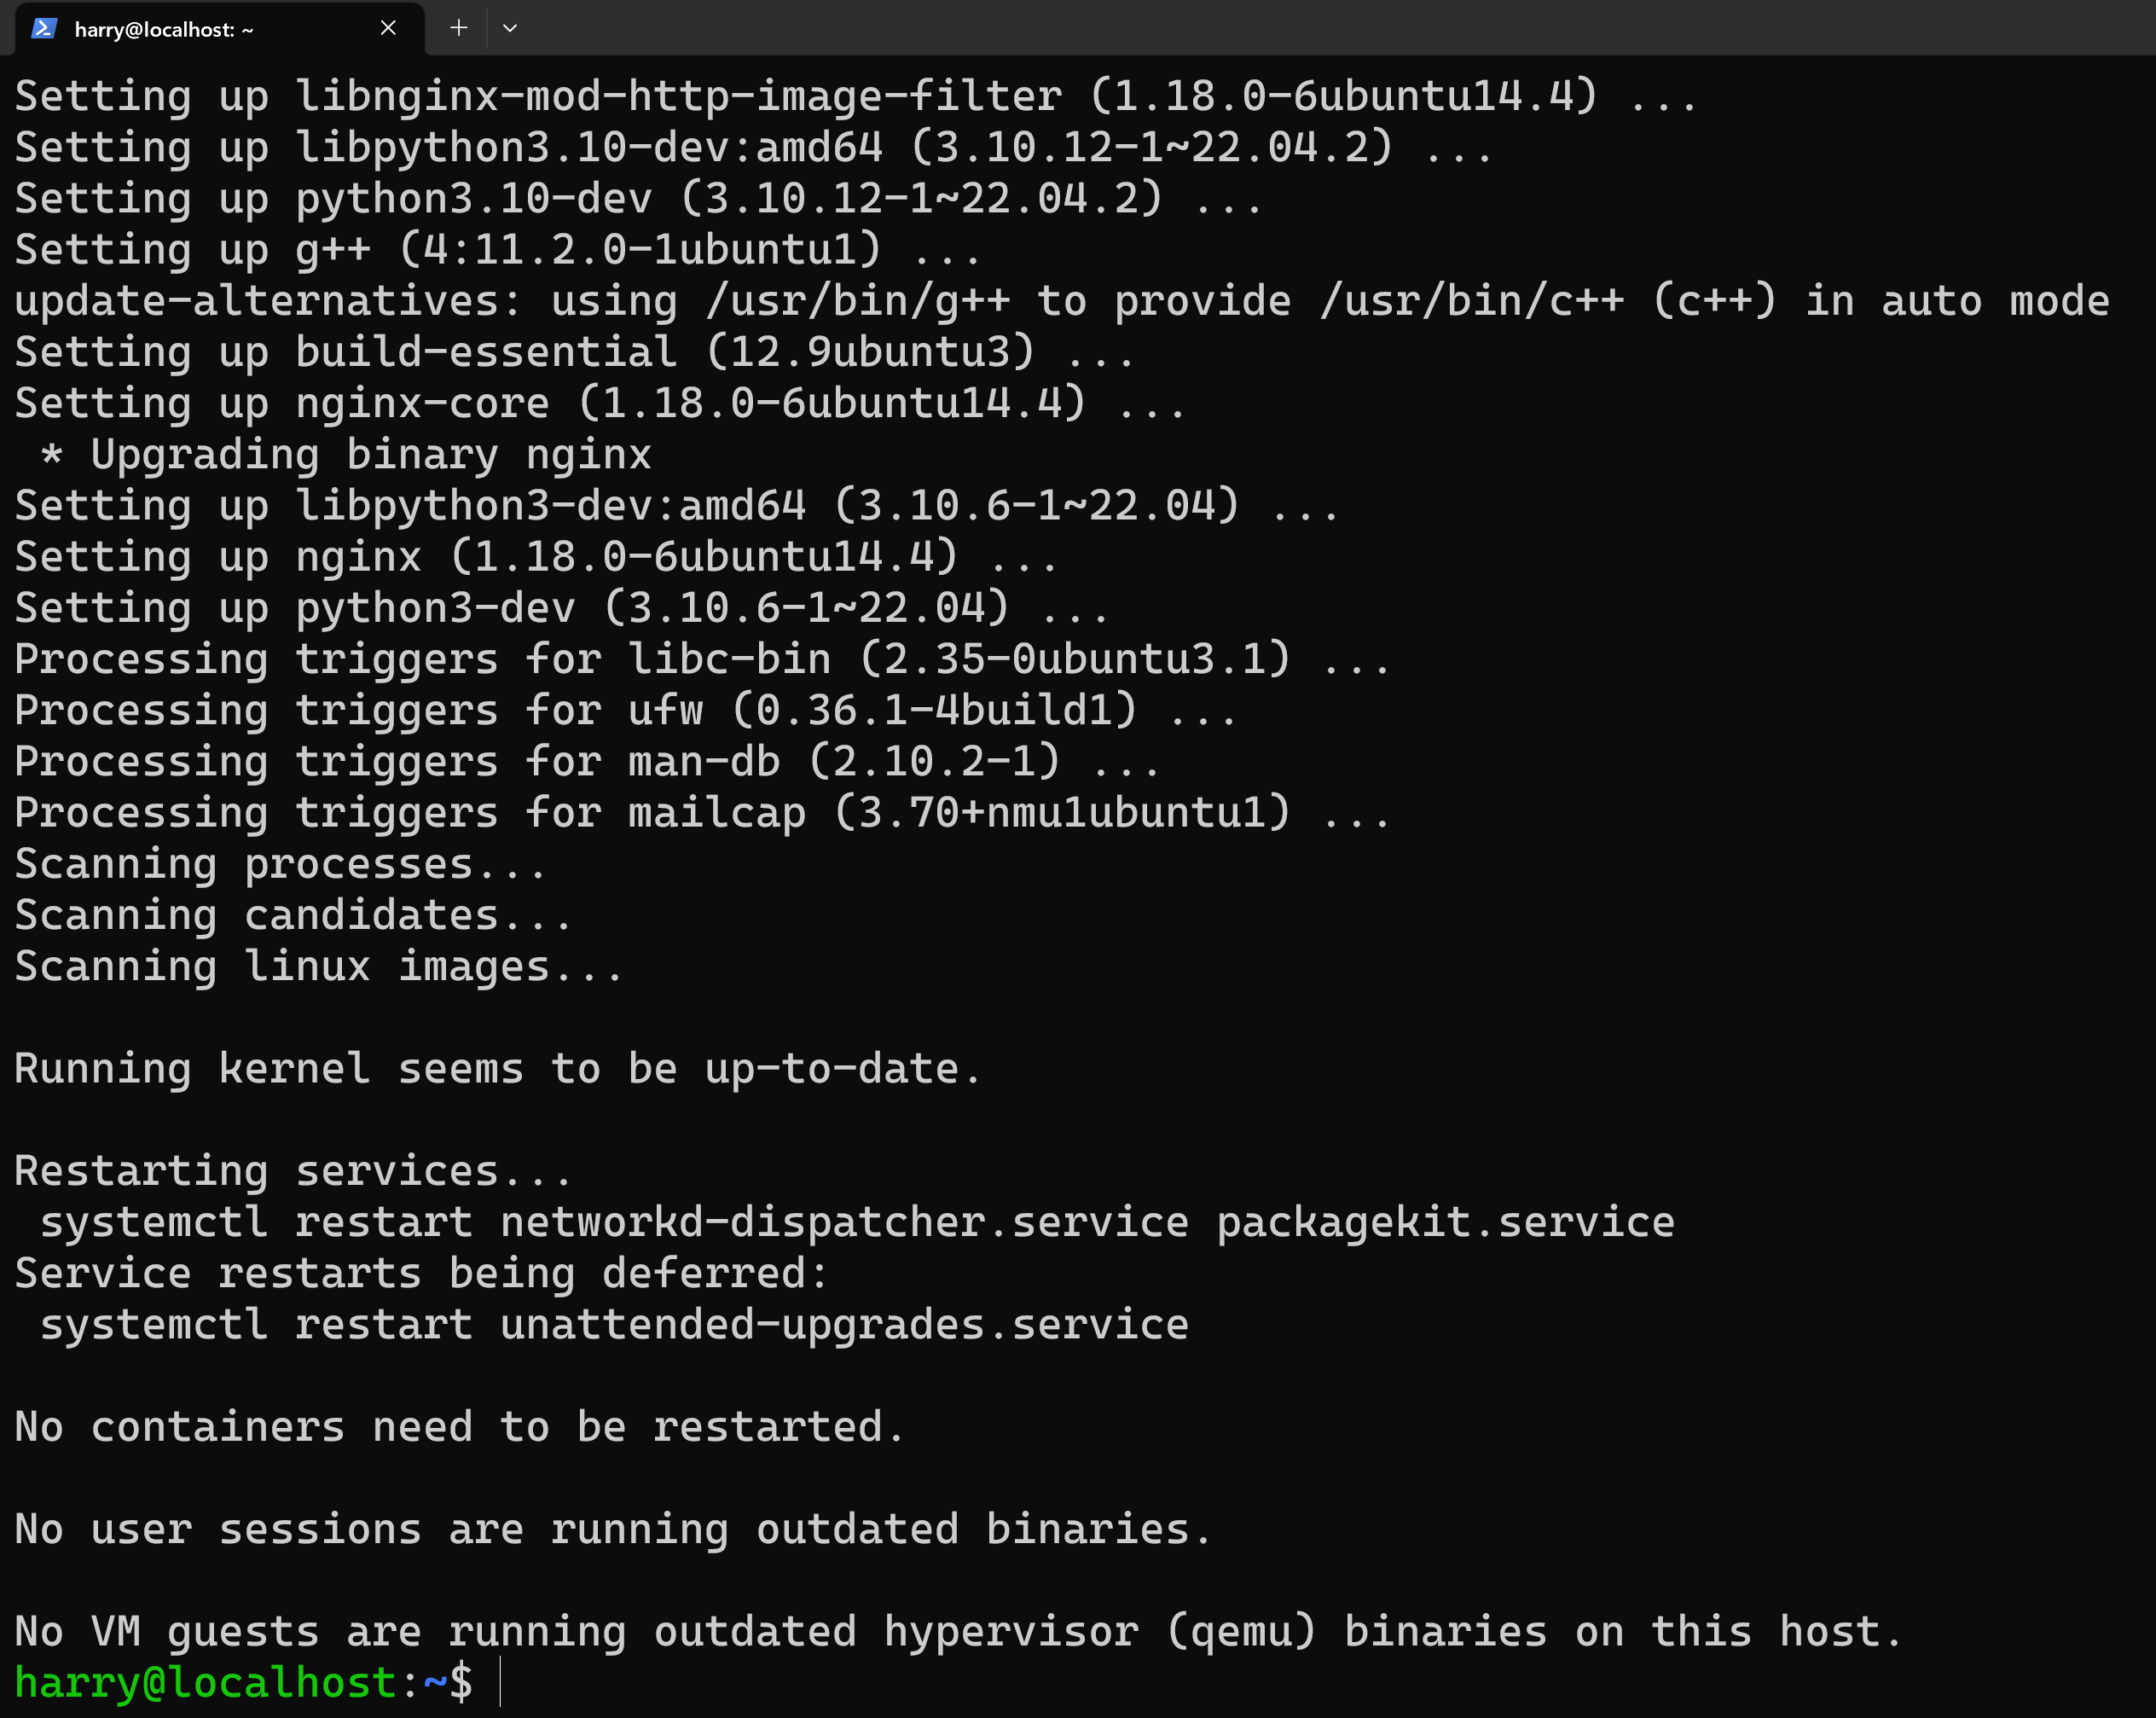
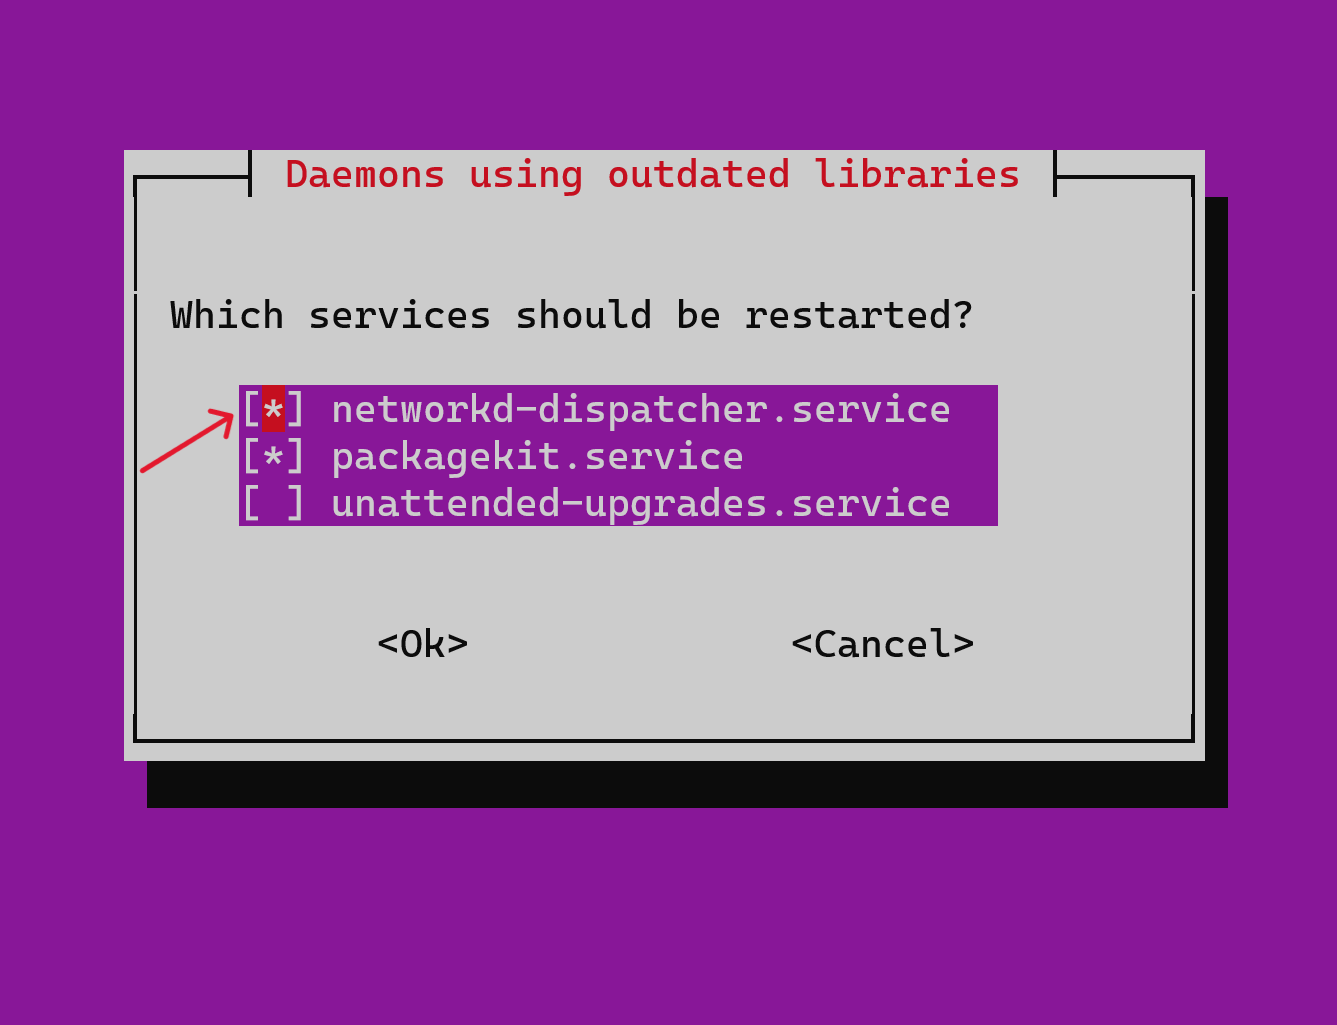
You might get a prompt asking "Which services should be restarted?". Simply press the <spacebar> key to select the first option and press enter to continue the installation as shown below:
Step 2 - Create a directory (for our Flask app) and setup a virtual environment
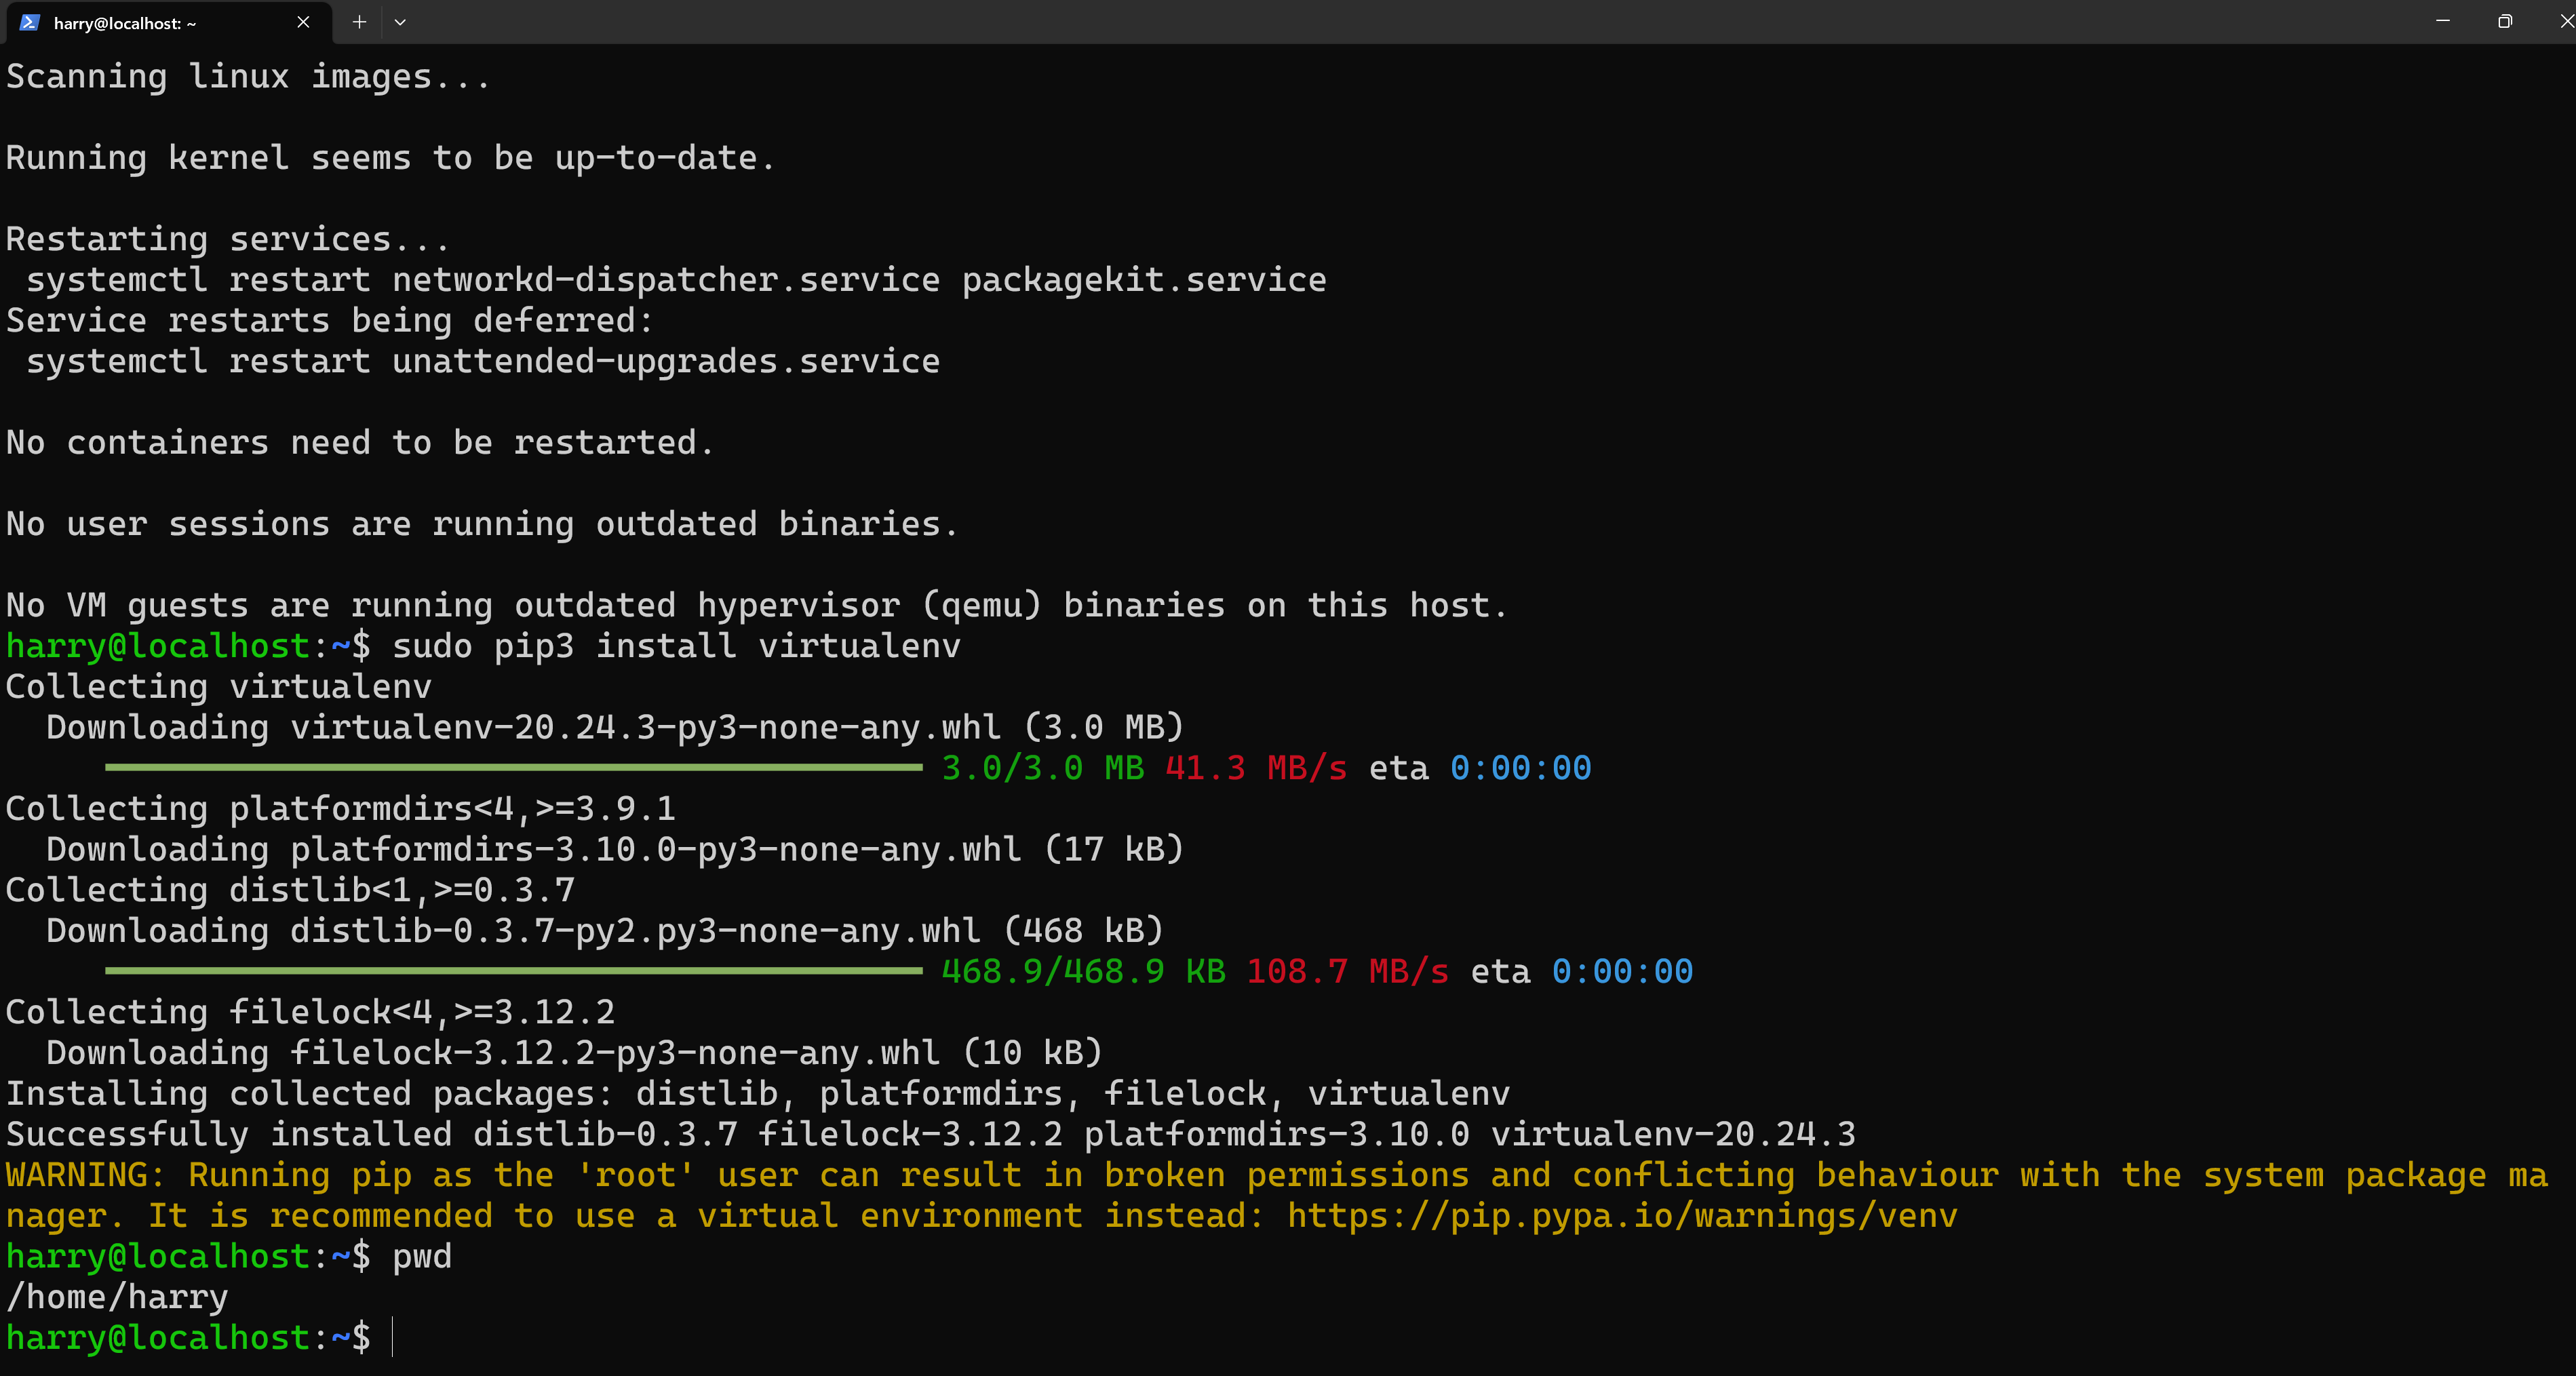
Let's install virtualenv:
sudo pip3 install virtualenv
I am deploying my app inside /home/harry directory. If you want to deploy your app to a different directory, switch to that directory. If you want to check which directory you are in, fire the command below:
pwd
Let's now create a directory to host our Flask application:
mkdir myFlaskApp && cd myFlaskApp
Run the following command to create a virtual environment named env:
virtualenv env
Finally, activate the virtual environment:
source env/bin/activate
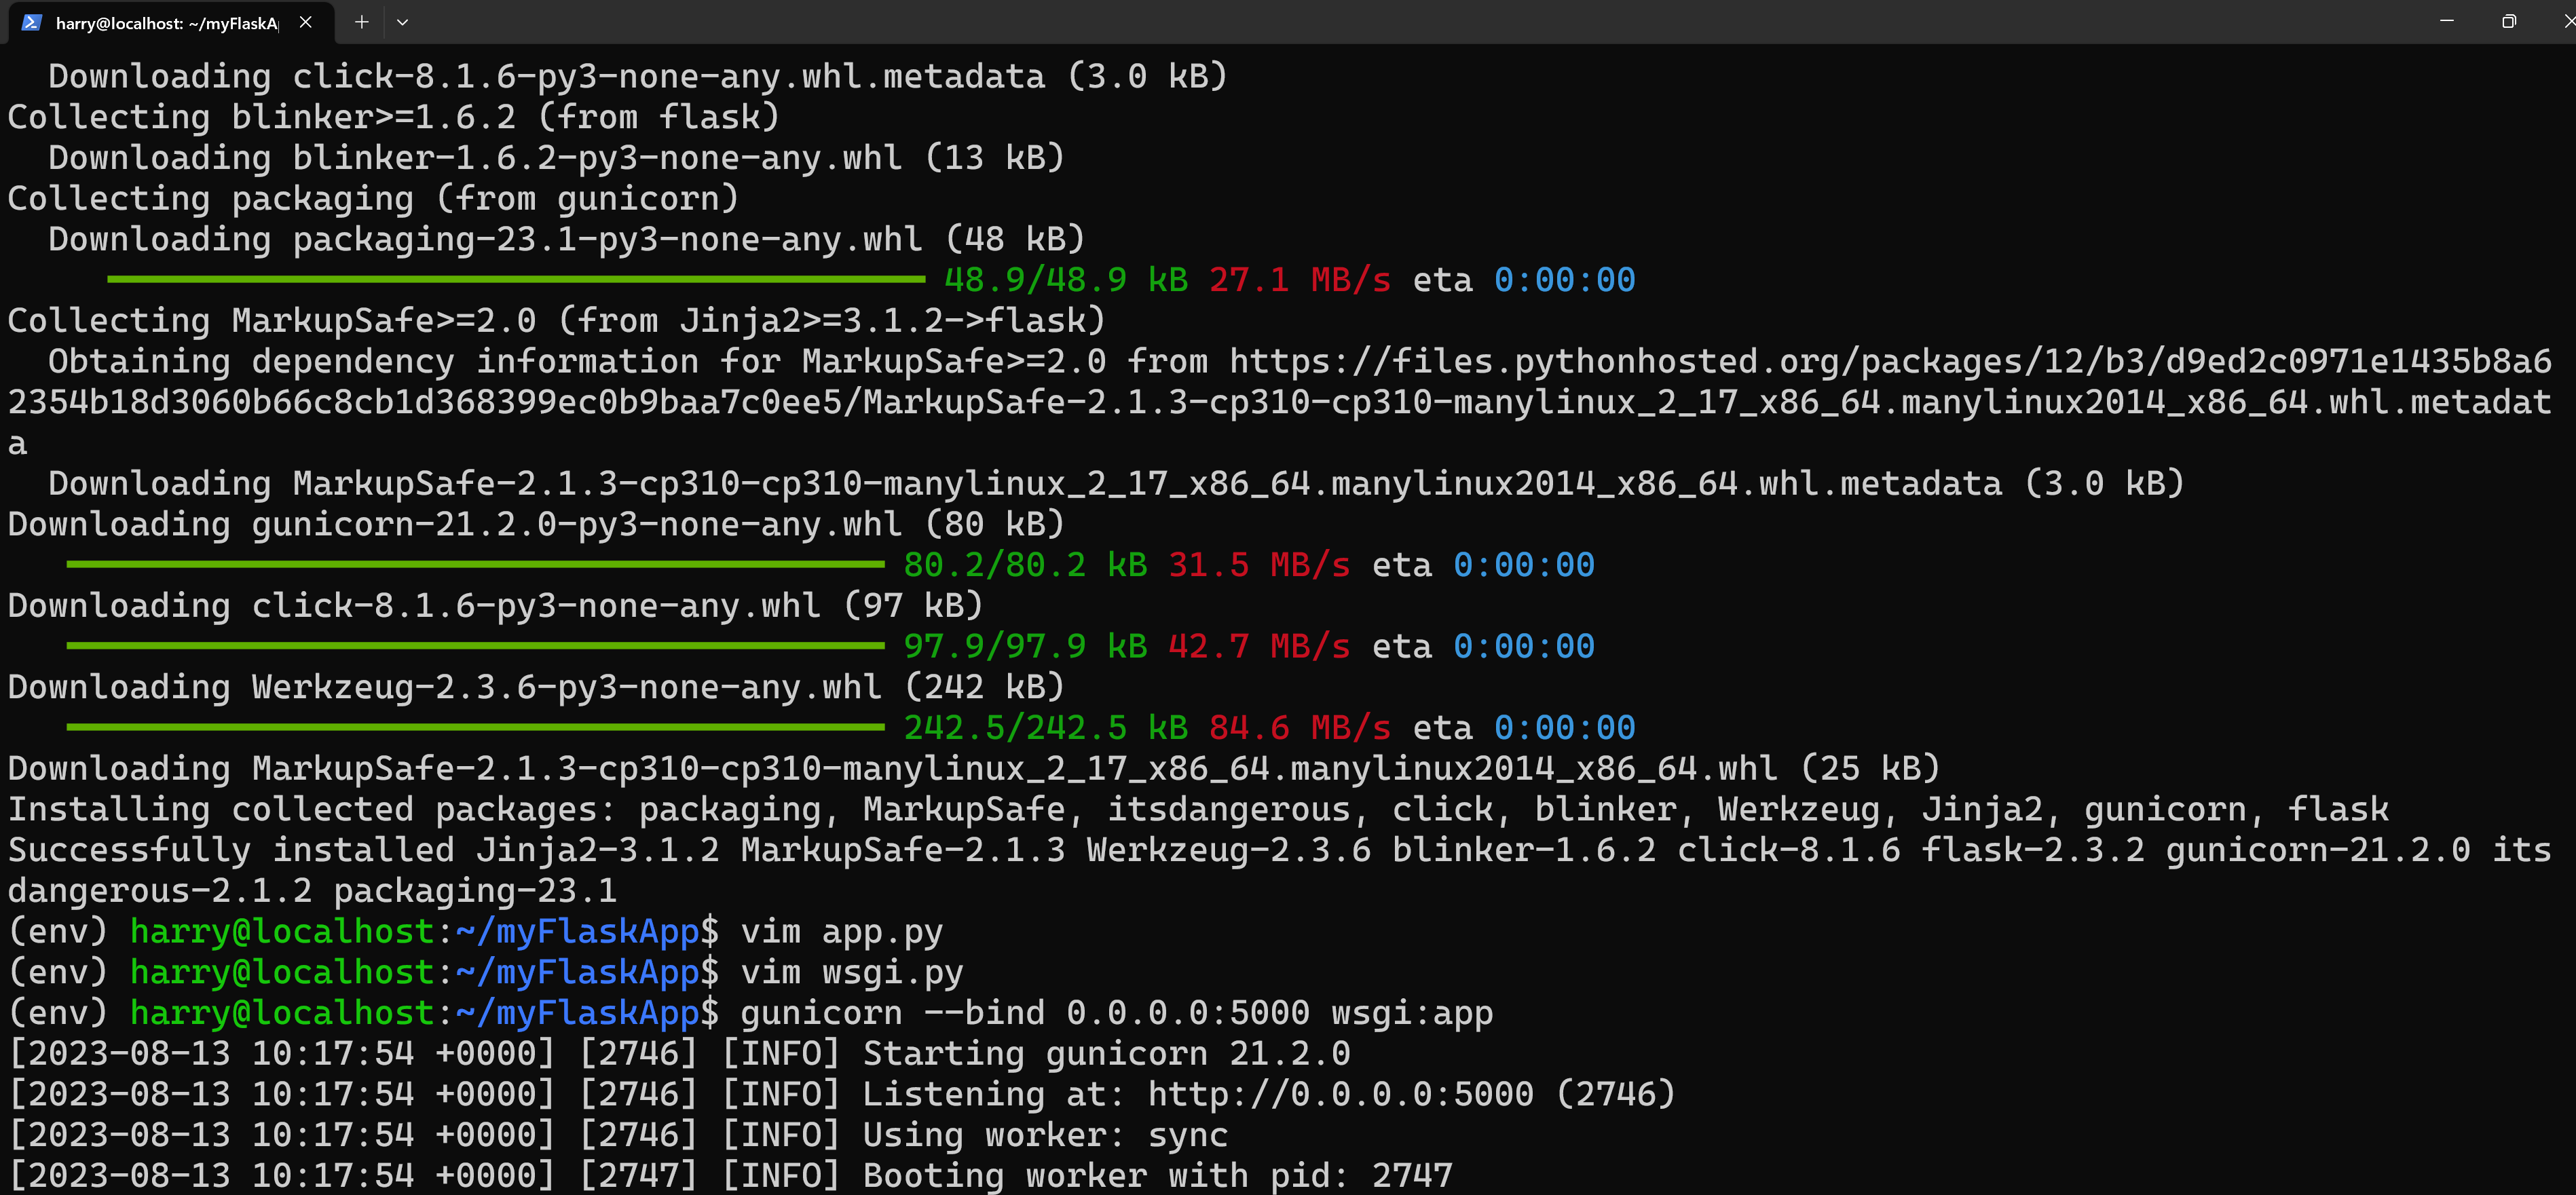
Let's now install Flask and Gunicorn using pip:
pip3 install flask gunicorn
Step 3 - Creating a sample project and WSGI entry point
Let us now create a sample project by entering the command below:
vim app.py
Paste the contents below to the app.py file:
from flask import Flask
app = Flask(__name__)
@app.route('/')
def hello_world():
return "Hello World!"
if __name__ == '__main__':
app.run(debug=True,host='0.0.0.0')Next, we’ll create a file that will serve as the entry point for our application. This will tell our Gunicorn server how to interact with the application.
vim wsgi.py
Next, copy the contents below to file wsgi.py:
from app import app
if __name__ == "__main__":
app.run()We can test Gunicorn's ability to serve our project by running the command below:
gunicorn --bind 0.0.0.0:5000 wsgi:app
Folder structure so far:
myFlaskApp
  |____ app.py
  |____ wsgi.py
  |____ env
Let's deactivate our virtual environment now:
deactivate
Step 4 - Creating a systemd service
Let's now create a systemd service using the following commands:
sudo vim /etc/systemd/system/app.service
Now paste the contents below to this file:
[Unit]
#  specifies metadata and dependencies
Description=Gunicorn instance to serve myproject
After=network.target
# tells the init system to only start this after the networking target has been reached
# We will give our regular user account ownership of the process since it owns all of the relevant files
[Service]
# Service specify the user and group under which our process will run.
User=harry
# give group ownership to the www-data group so that Nginx can communicate easily with the Gunicorn processes.
Group=www-data
# We'll then map out the working directory and set the PATH environmental variable so that the init system knows where our the executables for the process are located (within our virtual environment).
WorkingDirectory=/home/harry/myFlaskApp/
Environment="PATH=/home/harry/myFlaskApp/env/bin"
# We'll then specify the commanded to start the service
ExecStart=/home/harry/myFlaskApp/env/bin/gunicorn --workers 3 --bind unix:app.sock -m 007 wsgi:app
# This will tell systemd what to link this service to if we enable it to start at boot. We want this service to start when the regular multi-user system is up and running:
[Install]
WantedBy=multi-user.target
Activate this service by typing:
sudo systemctl start app
sudo systemctl enable app
A file named app.sock will be automatically created. Folder structure so far:
myFlaskApp
  |____ app.py
  |____ wsgi.py
  |____ env
  |____ app.sock
Step 5 - Configuring Nginx
Create a file named app inside /etc/nginx/sites-available:
sudo vim /etc/nginx/sites-available/app
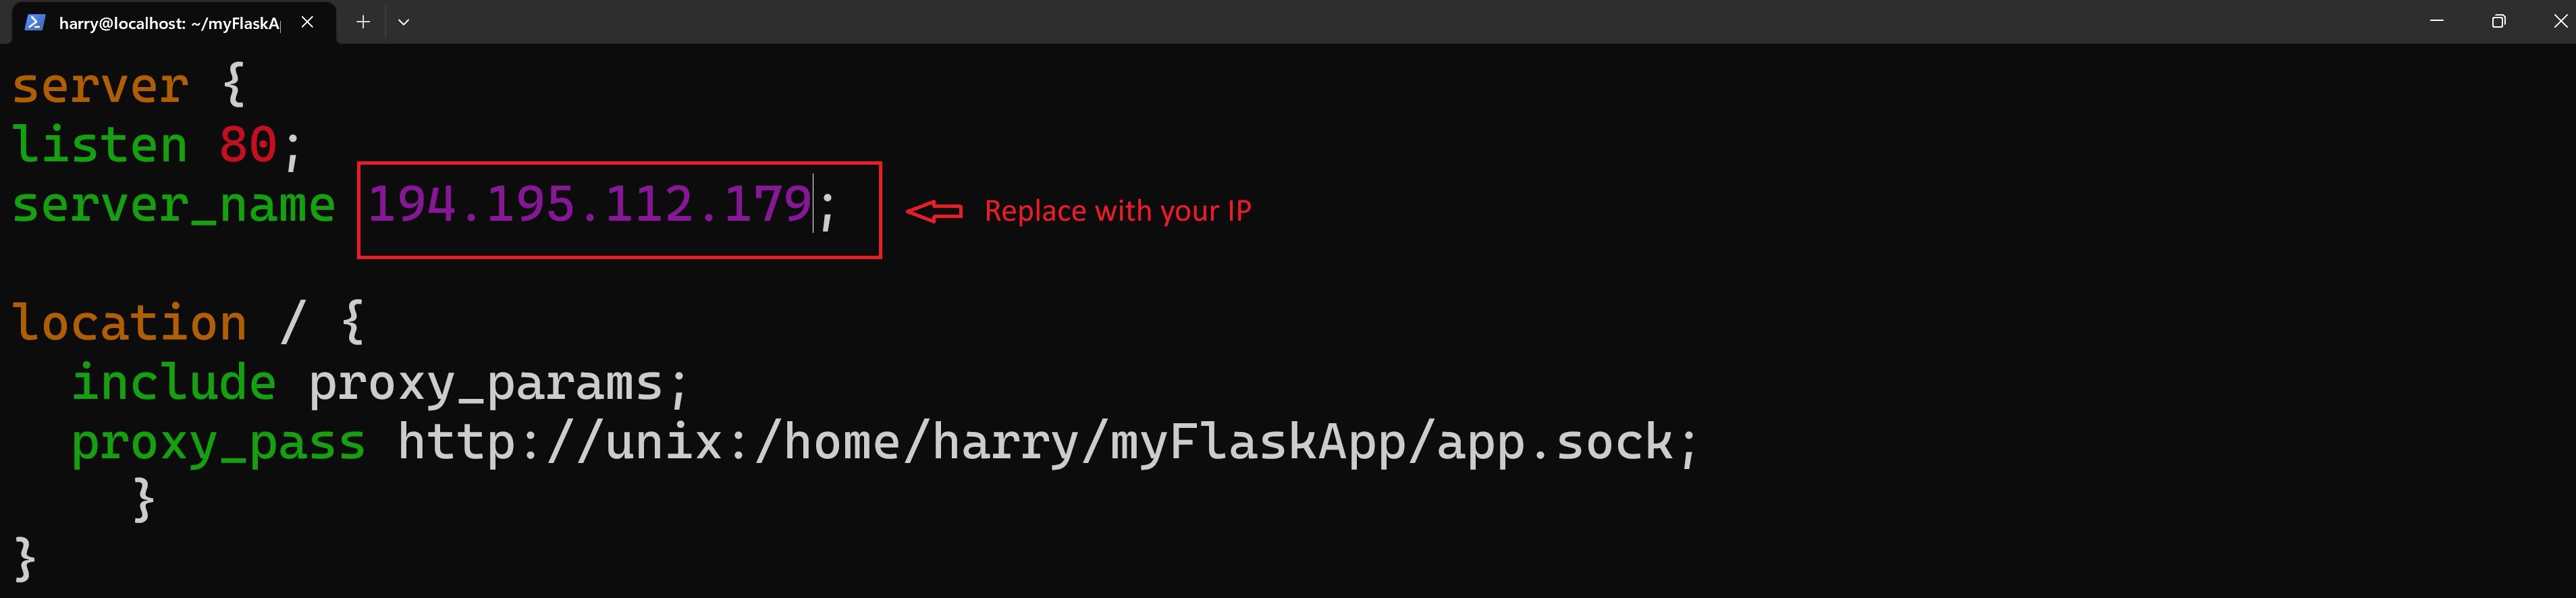
Now copy the below contents to this file:
server {
listen 80;
server_name 194.195.112.179;

location / {
  include proxy_params;
  proxy_pass http://unix:/home/harry/myFlaskApp/app.sock;
    }

location /static  {
    include  /etc/nginx/mime.types;
    root /home/harry/myFlaskApp/;
  }
}
The location /static part of this file takes care of serving the static files through nginx.
Important: I have used my server IP, you should use yours. If you are using a domain name pointing to the server IP address, use that domain instead of the server IP address!
Activate this configuration by executing this:
sudo ln -s /etc/nginx/sites-available/app /etc/nginx/sites-enabled
Step 6 - Providing necessary Permissions
Let's run the following commands to setup required permissions:
sudo chmod 775 -R /home/harry/myFlaskApp
sudo chmod 775 -R /home/harry
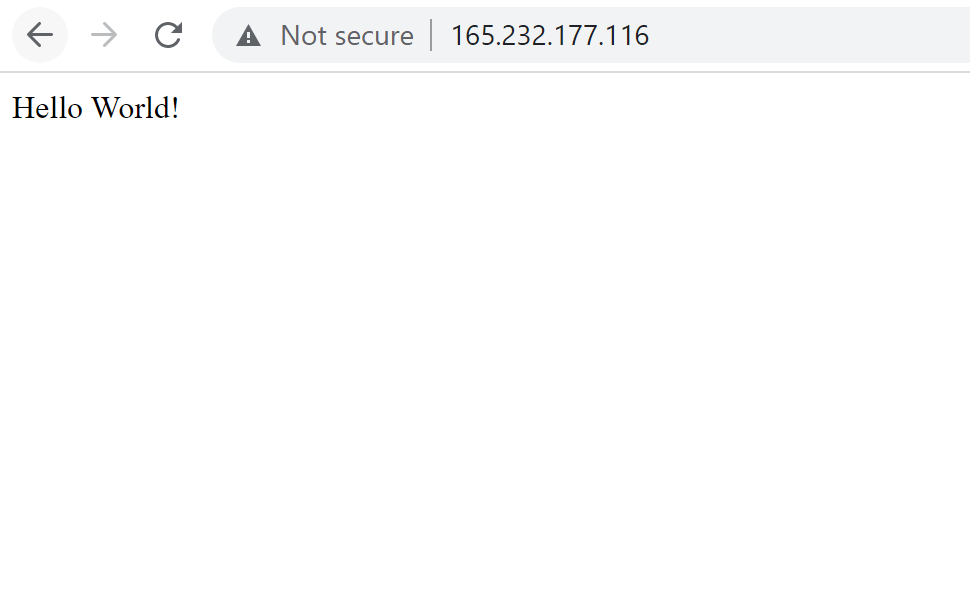
Restart nginx and your website should work fine!
sudo systemctl restart nginx
Visit your server IP address or domain on your browser. I am visiting http://165.232.177.116/ on my browser. This is how my browser looks like:
If you are using a firewall (for example, ufw), don't forget to allow nginx to receive incoming traffic on port 80:
sudo ufw allow 'Nginx Full'
Happy coding!