Meta Tags
The <meta> tags in HTML provide metadata about the HTML document. Metadata is data (information) about data. <meta> tags always go inside the document's <head> tag and are typically used to specify the character set, page description, keywords, author, and other metadata.
Below is an example HTML code snippet that includes various types of <meta> tags commonly used:
<!DOCTYPE html>
<html lang="en">
<head>
<meta charset="UTF-8"> <!-- Character encoding -->
<meta name="viewport" content="width=device-width, initial-scale=1.0"> <!-- Responsive design -->
<meta http-equiv="X-UA-Compatible" content="ie=edge"> <!-- Internet Explorer compatibility -->
<meta name="description" content="This is a description of the web page"> <!-- Description for search engines -->
<meta name="keywords" content="HTML, CSS, JavaScript"> <!-- Keywords for search engines -->
<meta name="author" content="Your Name"> <!-- Author name -->
<title>Document</title>
</head>
<body>
<!-- Your content here -->
</body>
</html>Explanation of each meta tag:
-
Character Encoding (
charset):<meta charset="UTF-8">sets the character encoding for the webpage. UTF-8 is the most common and recommended. -
Viewport:
<meta name="viewport" content="width=device-width, initial-scale=1.0">sets the viewport to scale the page to the screen width, useful for responsive design. -
IE Compatibility:
<meta http-equiv="X-UA-Compatible" content="ie=edge">specifies that the page should be rendered using the latest rendering engine available on Internet Explorer. -
Description:
<meta name="description" content="This is a description of the web page">provides a brief description of the webpage, which search engines may use in search results. -
Keywords:
<meta name="keywords" content="HTML, CSS, JavaScript">specifies keywords for the webpage, which were historically used by search engines but are less relevant today. -
Author:
<meta name="author" content="Your Name">indicates the name of the author of the webpage.
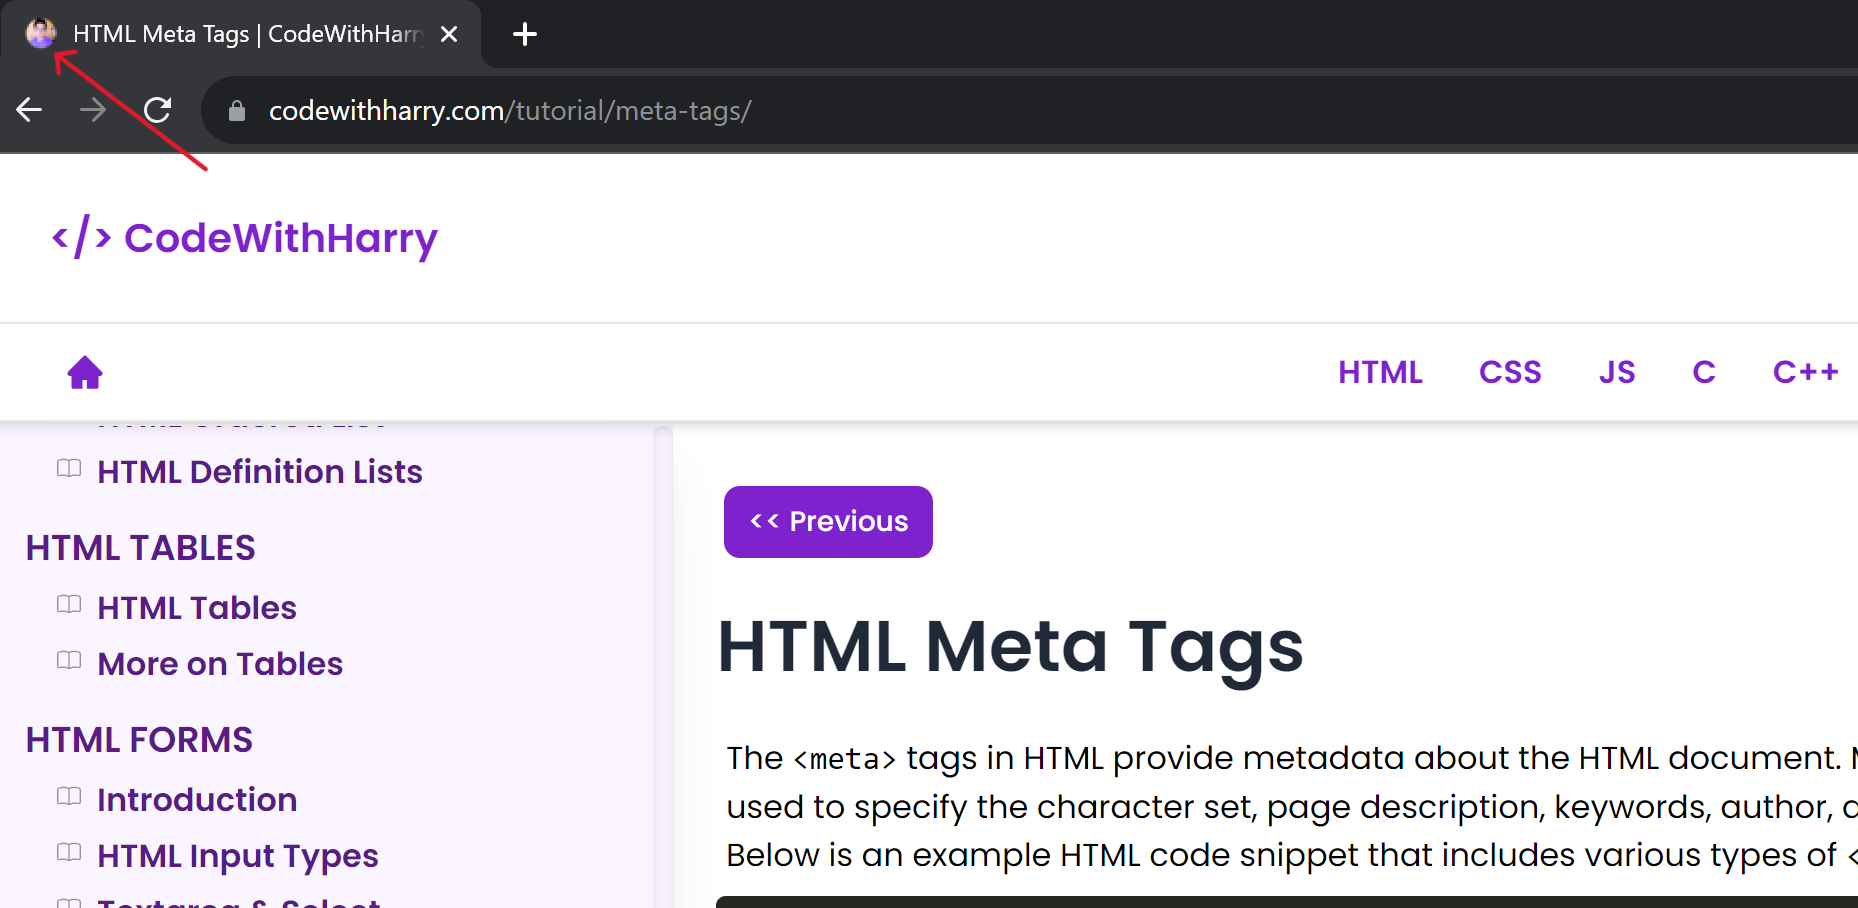
How to add favicon in HTML?
A favicon is a small icon that appears next to your website's title in browser tabs. It helps in branding and easy identification among multiple tabs.
Step 1: Create/Choose Favicon
Make a square image, usually 16x16 or 32x32 pixels, in .ico format. You can create a favicon from this website.
Step 2: Upload Favicon
Place the .ico file in your website's root directory, where index.html is located.
Step 3: Update HTML
Insert the following code in the <head> section of your index.html file:
<link rel="icon" href="favicon.ico" type="image/x-icon">Replace favicon.ico with your file's path if different.
Step 4: Test
Open your site in different browsers to make sure the favicon appears.
In the next tutorial, we will talk about more HTML head elements.